Going from a Canva Design to an Astro Page


Discover how at OpenReplay.com.
In this tutorial, we will take a free Canva landing page website template and convert it to an Astro JS landing page.
Canva has many free templates for anything you can think of. We will go for a fitness website and break down each element to recreate in Astro.
When I approach a web development project, whether a website or an application, I find it best to break down what you want to accomplish into smaller steps. I encourage you to do the same. The term modularity categorizes this approach.
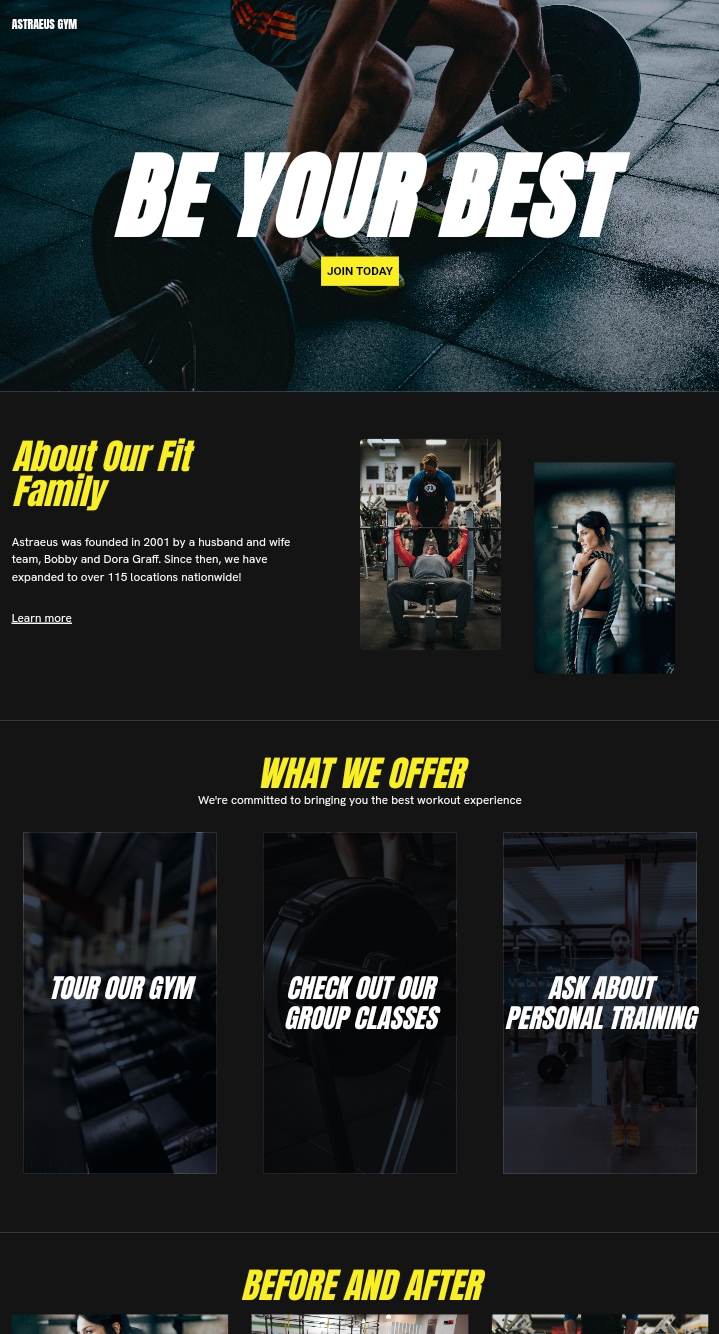
After reviewing the Canva template, we can see that we need to create six components or modules using Astro.js:
- Header or Hero Section
- About Section
- Offers Section
- Testimonials
- Footer
We will also learn how to deploy our website to Netlify via our personal GitHub repository so that you can share your creation with the world.
Sourcing the Images
The best place for placeholder images is Unsplash; this website will keep you current by offering professional-grade images with whatever you type in the search bar.
The one vital detail to be aware of is the Copyright license. The best way to know that the image you want doesn’t need to be credited is by filtering images with the Creative Commons License.
Setting up the project
In this tutorial, we will be using Visual Studio Code, so let’s start by opening the program and then the terminal:
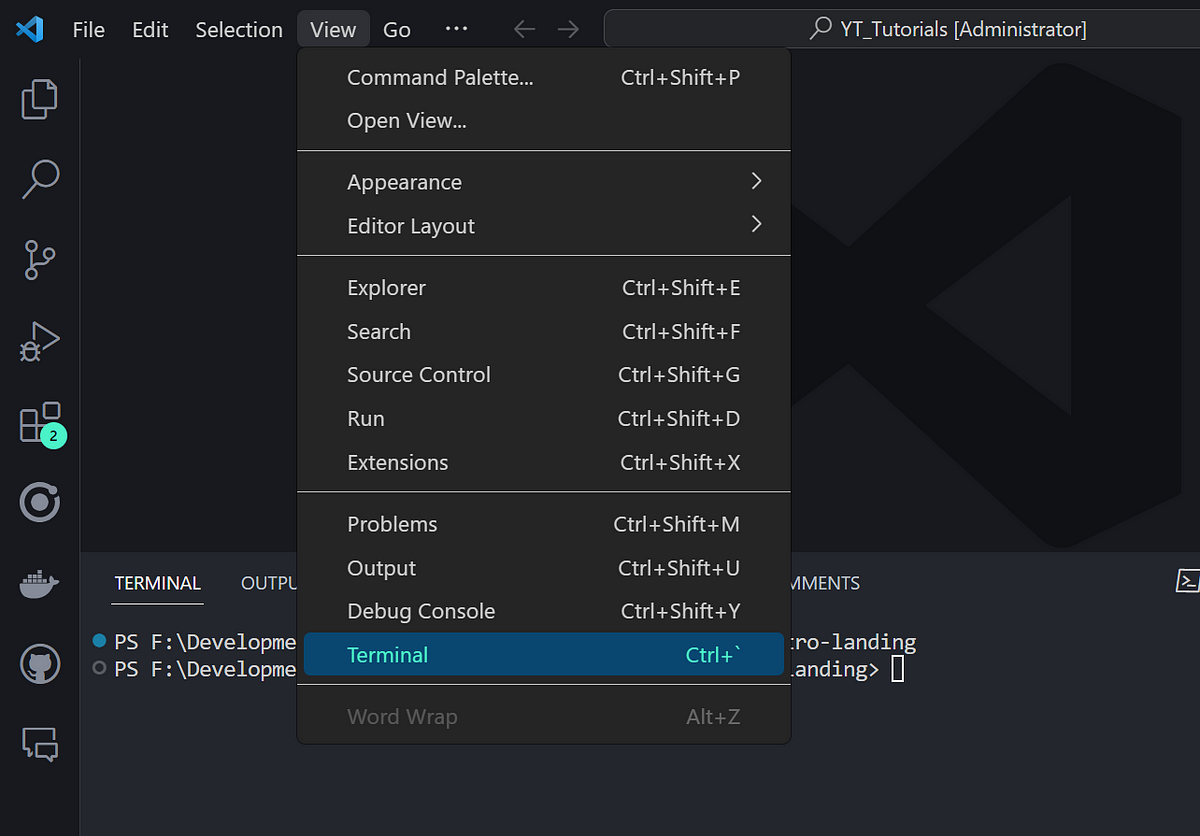
Once we are in the folder we want to use, we can run the command:
npm create astro@latestThis will start the process of creating our Astro website. You will need to follow the resulting prompts. I am choosing to use the name fitness-astro-landing. You can name the project whatever you like.
Once everything is complete, you will need to run this command:
cd fitness-astro-landing (or your project name)Next, we will add Tailwind CSS to the project as this will assist us in incorporating our design from the Canva template.
npx astro add tailwindAgain, follow the onscreen prompts, and when they have been completed, we will add our sourced images.
Adding Images
As we are doing a fitness-themed website, we will find the most relevant images for our needs and store them in the public folder.
You must create a folder called images and add the files there.

Adding the styling and files
Looking at the Canva template, we can see a custom font called “Anton.” Go to the Google Fonts website and get the necessary code to add to the Layouts.astro file, as this file will serve the entire page.
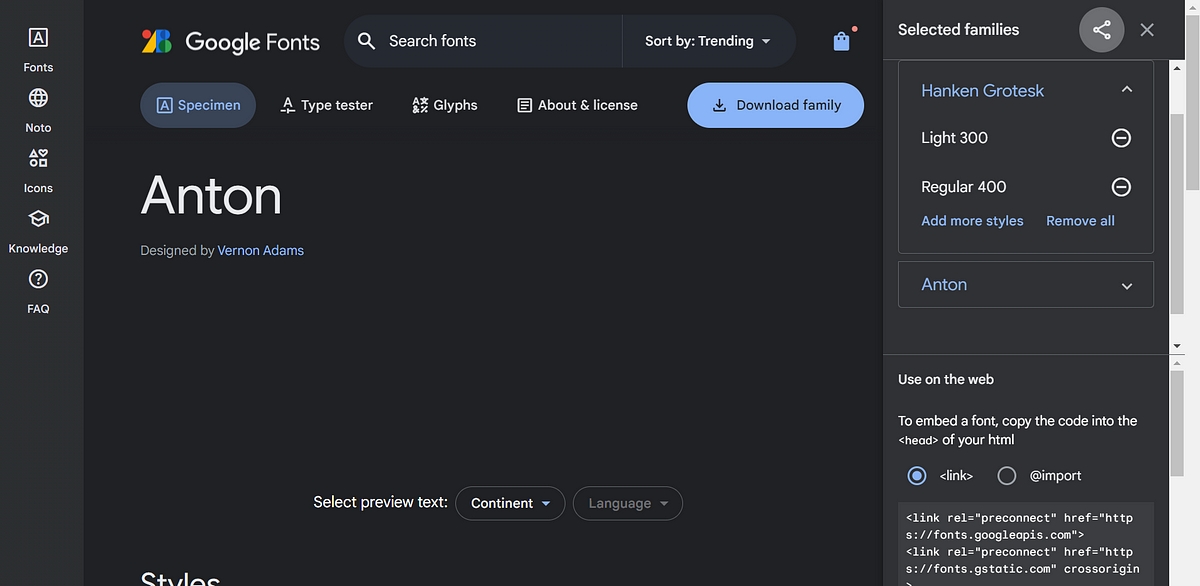
Open the Layout.astro file and add the following code in the <head> Section.
Let us also make the files we decided we needed as components. Navigate to the src/components folder and create the following files:
- Hero.astro
- About.astro
- Offers.astro
- Testimonials.astro
- HeroFooter.astro
We will be adding more components later. However, this is what we need to have everything set up; we can now move on to the next step.
Coding the Home page
This is the main file we will use for the entire tutorial. We are using the default Layout.astro file included with the installation. However, we will change the title to reflect our fictional fitness gym name.
Next, we will import each component we made in the components folder to this page.
---
import Layout from '../layouts/Layout.astro';
import Hero from '../components/Hero.astro';
import About from '../components/About.astro';
import Offers from '../components/Offers.astro';
import Testimonials from '../components/Testimonials.astro';
import HeroFooter from '../components/HeroFooter.astro';
---

<Layout title="Astraeus Gym">
 <main>
  <!-- Add Call To action, company Name and Button text2 -->
 <Hero callToAction='Be Your Best', buttonText='Join Today' companyName='Astraeus Gym'/>
 <About linkText="/" imageOne='gym-instructor.jpg', imageTwo='gym-femaleinstructor.jpg' />
 <Offers />
 <Testimonials />
 <HeroFooter callToAction='Get in Touch Today' />
 </main>
</Layout>
Creating the Hero section
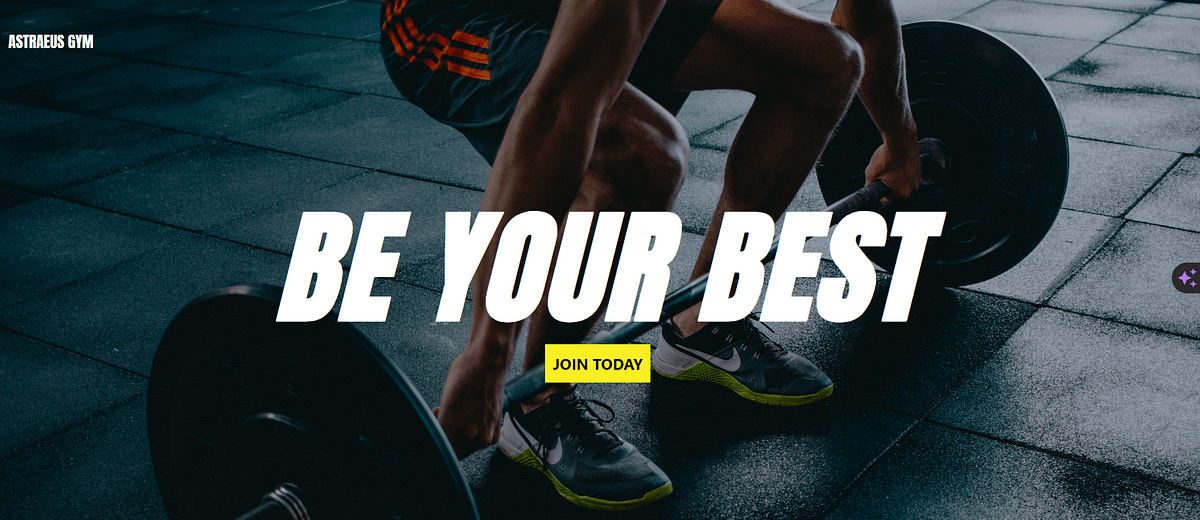
The hero section, or in some terms the jumbotron, is the most important element of this landing page. The reason is because it is the first area users will see. The above image shows the hero section with a background and three other text items:
- A logo with the brand name
- A giant call-to-action message
- A join now button
We will start by making our frontmatter; this is the top area of our Hero.astro page where we can write our Javascript.
We will use Astro props to enable customized changes to the callToAction text. We will also refer to the image we want to use as the background - sourced from Unsplash and stored in the public/images folder.
Here is the finished code:
---
interface Props {
  callToAction: string;
  buttonText: string;
  companyName:string;
  //    logoImage:string;
}
const { callToAction, buttonText, companyName } = Astro.props;

const imageURL = "hero-fitness-image.jpg"
const bgStyle = {
  backgroundImage: `url('/images/${imageURL}')`,
};
---

<header class="bg-cover bg-no-repeat bg-gray-400 bg-blend-multiply" style={bgStyle}>
  <nav class="text-white uppercase pt-8 p-4 font-bold2">
    <ul>
      <li>{companyName}</li>
    </ul>
  </nav>
  <div class="px-4 mx-auto max-w-screen-xl text-center py-36 text-white">

      <h1 class="font-extrabold text-9xl tracking-wide mb-4 uppercase italic">{callToAction}</h1>
      <button class="yellowBG p-2 uppercase text-black font-bold">{buttonText}</button>

  </div>
</header>
Adding the About Section
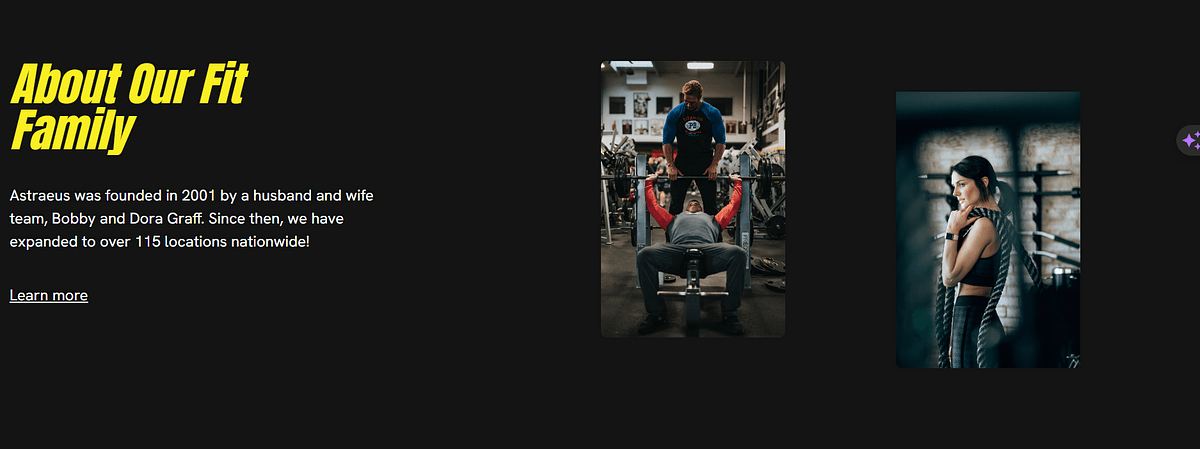 In this Section, we can see a two-column layout with a heading and paragraph on one side and images on the other. Let’s break it down:
- Heading
- Paragraph
- link
- Image links
Now, let’s code the Section in Astro. Open the About.astro file and add the following:
Note: be sure to change the image file names in the index.astro file to match your need.
---
interface Props {
  linkText: string;
  imageOne:string;
 imageTwo:string;
}
const { linkText, imageOne, imageTwo } = Astro.props;
---

<section class="py-12">
  <div class="grid grid-cols-2 p-4">
    <div>
      <h1 class="text-white text-5xl italic max-w-xs yellowText pb-8">About Our Fit Family</h1>
      <p class="text-white max-w-sm">
        Astraeus was founded in 2001 by a husband and wife team, Bobby and Dora Graff. Since then, we have expanded to over 115 locations nationwide!
      </p>
      <p class="text-white mt-8 underline">
        <a href={linkText}>Learn more</a>
      </p>
    </div>
    <div class="grid grid-cols-2">
        <img src={'/images/'+imageOne} alt="Gym Instructor" class="rounded-md object-cover w-48"/>
        <img src={'/images/'+imageTwo} alt="Boxing Instructor" class="rounded-md object-cover w-48 pt-8"/>
    </div>
  </div>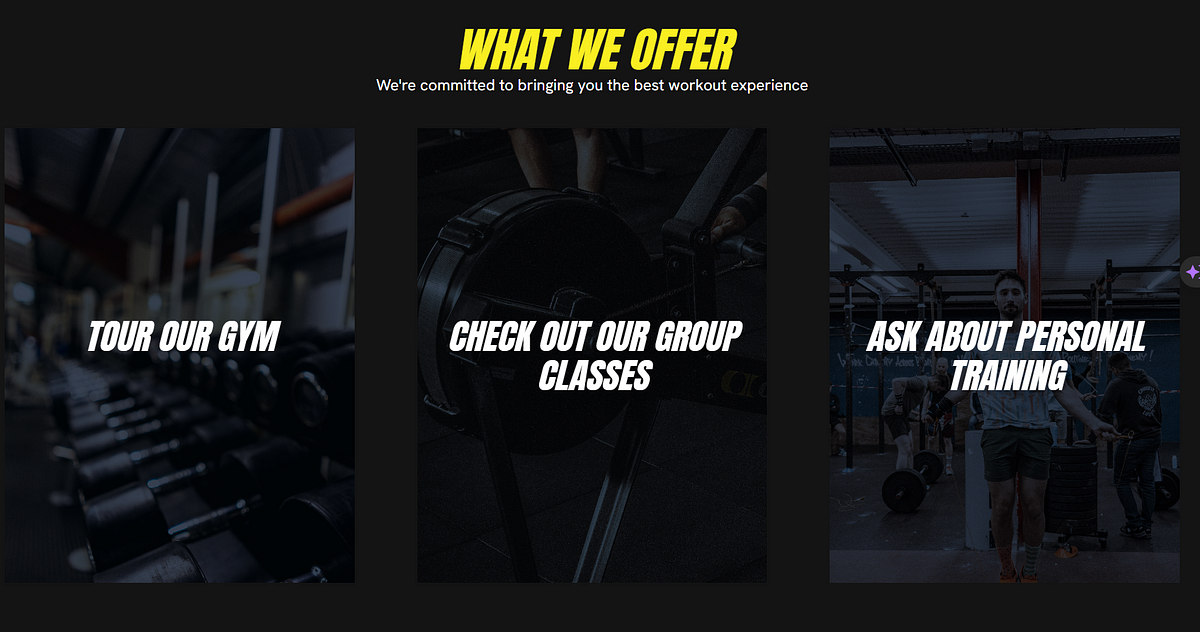
</section>Creating the Offers section
This Section will build on our previous knowledge of adding images and grid layouts. The template shows that this Section consists of three cards with a background image and a bold heading centered inside.
Let’s make an ImageCard component that will serve as our cards; then, we can iterate the component with custom images and text. Navigate to the src/components and create ImageCard.astro and add the following code:
---
interface Props {
  text: string;
  imageURL: string;
}
const { text = "", imageURL = "" } = Astro.props;
const imageStyle = {
  backgroundImage: `url(/images/${imageURL})`,
};
---

<div
  class="py-48 bg-cover m-8 bg-gray-700 bg-blend-multiply"
  style={imageStyle}
>
  <h2 class="text-white uppercase text-4xl italic">{text}</h2>
</div>
This code will result in a div with the specific background image file and the custom text on the inside. We will be using mapping in Astro JS to make it easier to swap out images and easily change the text.
Now, open the Offers.astro file and import the ImageCard component. Next, we will create an array of objects with the image filename and the text:
    ---
import ImageCard from "./ImageCard.astro";
const offers = [
    {
        imageURL:"dumbbells.jpg",
        offerText:"Tour Our Gym"
    },
    {
        imageURL:"rowing.jpg",
        offerText:"Check out our Group Classes"
    },
    {
        imageURL:"skipping.jpg",
        offerText:"Ask about Personal Training"
    }
]
---
We will first create the Section, heading, and paragraph elements, then we will create our div and use the Astro JS syntax to map over the values:
<section class="py-12 text-center">
<h1 class="yellowText text-5xl italic uppercase">What we offer</h1>
<p class="text-white">We're committed to bringing you the best workout experience</p>
<div class="grid grid-cols-1 md:grid-cols-3">
{
    offers.map((offer)=>(
        <ImageCard imageURL={offer.imageURL} text={offer.offerText} />
    ))
}

</div>
</section>
Adding Testimonials
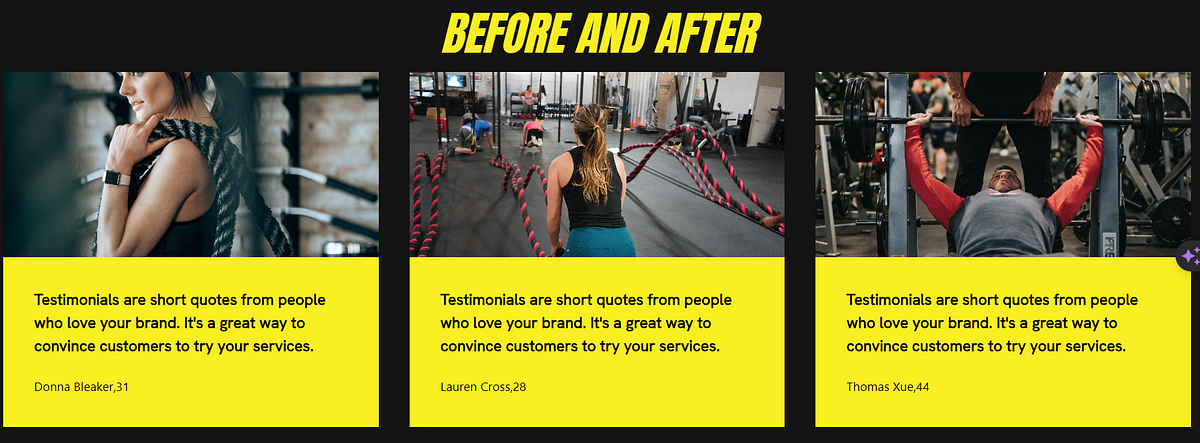
This Section is very similar to the Offers section except for the design and text layout.
---
const testimonials = [
  {
    profileURL: "gym-femaleinstructor.jpg",
    author: "Donna Bleaker",
    age: 31,
    quote:
      "Testimonials are short quotes from people who love your brand. It's a great way to convince customers to try your services. ",
  },
  {
    profileURL: "gym-ropes.jpg",
    author: "Lauren Cross",
    age: 28,
    quote:
      "Testimonials are short quotes from people who love your brand. It's a great way to convince customers to try your services. ",
  },
  {
    profileURL: "gym-instructor.jpg",
    author: "Thomas Xue",
    age: 44,
    quote:
      "Testimonials are short quotes from people who love your brand. It's a great way to convince customers to try your services. ",
  },
];
---
<section class="py-12">
  <h1 class="yellowText text-5xl italic uppercase text-center">Before and After</h1>
  <div class="grid grid-cols-1 md:grid-cols-3">
    {
      testimonials.map((profile)=>(
        <div class="m-4">
          <img src={'/images/'+profile.profileURL} alt="Testimonial" class="object-cover w-full h-48"/>
          <div class="yellowBG p-8">
            <p class="pb-4 font-bold">
              {profile.quote}
              </p>
              <small>{profile.author},{profile.age}</small>
            </div>
          </div>

      ))
    }
  </div>
</section>
Looking at the template, we need a profile image of each testimonial, along with their name, age, and comment.
Implementing the Footer
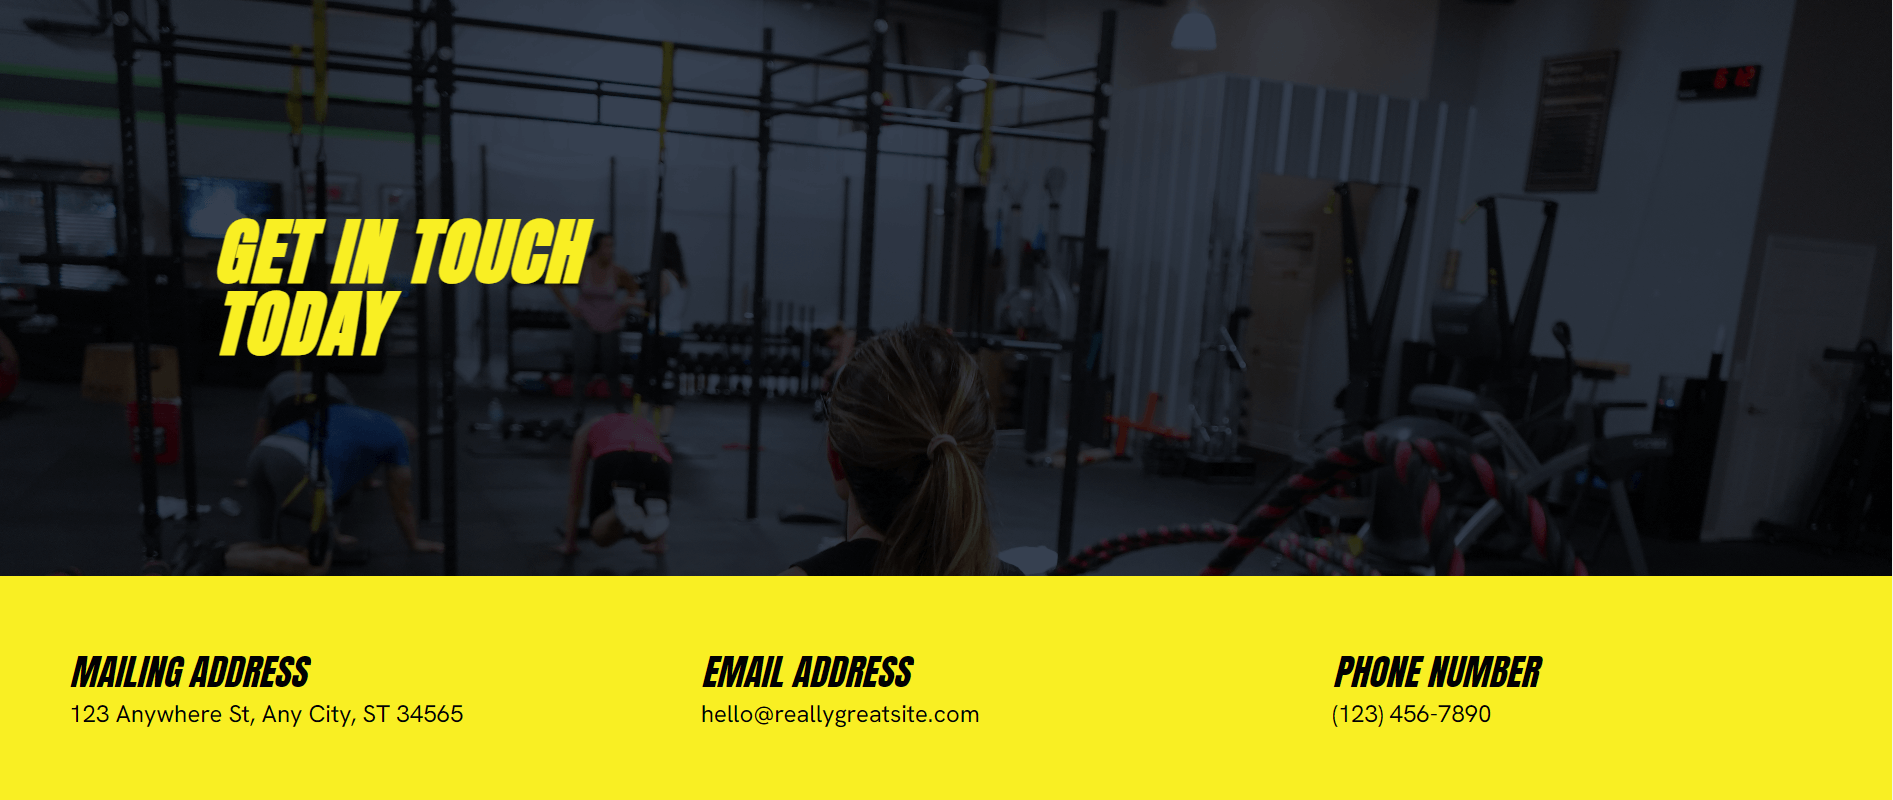
To finish this landing page, we will take what we learned in the Hero and Testimonial sections and complete the footer design. First, we will create an extra component, the Hero Footer.
Create a HeroFooter.astro file, important the Hero Footer component, and then enter the following:
---
interface Props {
  callToAction: string;
}

const { callToAction } = Astro.props;
const imageURL = "gym-ropes.jpg";
const bgStyle = { backgroundImage: `url('/images/${imageURL}')` };
const content = [
  {
    heading: "Mailing Address",
    info: "123 Anywhere St, Any City, ST 34565",
  },
  {
    heading: "Email Address",
    info: "hello@reallygreatsite.com",
  },
  {
    heading: "Phone Number",
    info: "(123) 456-7890",
  },
];
---

<footer
  class="bg-cover bg-no-repeat bg-gray-700 bg-blend-multiply"
  style={bgStyle}
>
  <div class="mx-auto max-w-screen-xl">
    <h1
      class="font-extrabold text-5xl yellowText tracking-wide uppercase italic p-36 max-w-xl"
    >
      {callToAction}
    </h1>
    <div class="yellowBG grid grid-cols-1 md:grid-cols-3">
      {
        content.map((item) => (
          <div class="p-12">
            <h1 class="uppercase text-2xl italic">{item.heading}</h1>
            <p>{item.info}</p>
          </div>
        ))
      }
    </div>
  </div>
</footer>
View the website locally
With the terminal still running in the background, let’s run the build locally and see the result by running the command:
npm run devYou can see the finished product when you open your browser to http://localhost:4321.

Deploy to Netlify
Watch this YouTube tutorial to learn how to deploy this site to Github and Netlify.
Download the full project source code
Truly understand users experience
See every user interaction, feel every frustration and track all hesitations with OpenReplay — the open-source digital experience platform. It can be self-hosted in minutes, giving you complete control over your customer data. . Check our GitHub repo and join the thousands of developers in our community..